 ArcView Tutorial 2: Creating Access Maps ArcView Tutorial 2: Creating Access Maps
Adding and Editing DRG's
 DRGs
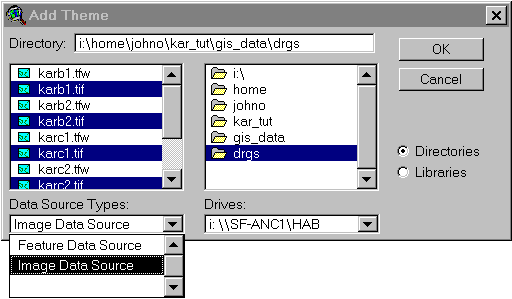
are Digital Raster Graphics and are scanned copies of USGS maps. You will add DLGs to the project file with the add theme
button
DRGs
are Digital Raster Graphics and are scanned copies of USGS maps. You will add DLGs to the project file with the add theme
button  , but in this case
you will have to change the "Data Source Types:" drop box to
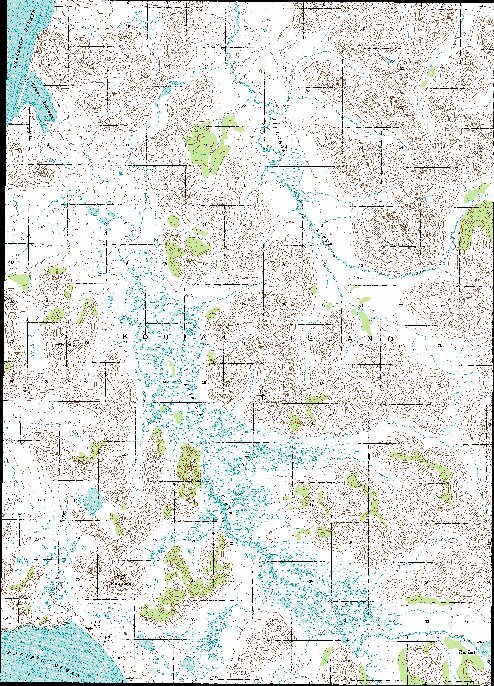
"Image Data Source." A thumbnail of a DRG
(converted to jpg) is linked below. DRGs are very useful as a
background for the rest of your data, be it land status or trail and site
easements. By holding down the shift key and clicking on each TIF you can
select several at a time .. add all of them. Select and activate one DRG and inspect the image.
Zoom to selected theme
, but in this case
you will have to change the "Data Source Types:" drop box to
"Image Data Source." A thumbnail of a DRG
(converted to jpg) is linked below. DRGs are very useful as a
background for the rest of your data, be it land status or trail and site
easements. By holding down the shift key and clicking on each TIF you can
select several at a time .. add all of them. Select and activate one DRG and inspect the image.
Zoom to selected theme . For ease of
viewing you must remove the green forest color and also remove the black "collar" that is around the DRG (due to the elliptical shape of the
earth, DRG's aren't oriented exactly square in the northern and southern reaches
of the hemispheres). You
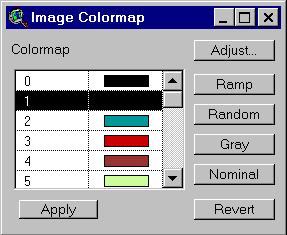 will perform this action by 2x each DRG theme and then clicking the Colormap button, at
which point the Image Colormap dialog box will appear. 2x the white box on
number 1 (highlighted in the image at left) and click the x'd box (upper left
corner) in the Color Palate, then apply.
will perform this action by 2x each DRG theme and then clicking the Colormap button, at
which point the Image Colormap dialog box will appear. 2x the white box on
number 1 (highlighted in the image at left) and click the x'd box (upper left
corner) in the Color Palate, then apply. 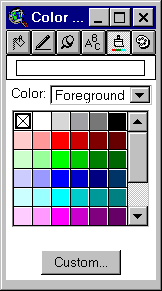 Repeat this procedure for number 5 (the green forest) and number 255 (the black
collar around the DRG). You may have to repeat this process for number 1,
or click on a color and then the x'd box .. I'm not sure why, but it sometimes just doesn't work the first time.
You must repeat this process for each DRG you add.
Repeat this procedure for number 5 (the green forest) and number 255 (the black
collar around the DRG). You may have to repeat this process for number 1,
or click on a color and then the x'd box .. I'm not sure why, but it sometimes just doesn't work the first time.
You must repeat this process for each DRG you add.
One thing to consider: at times 1:250,000 DRGs are just as useful as
1:63,360s and don't take as long to load (if you have a large area). Also,
when you are editing other layers (such as land status) that do not require the
DRG to be seen and the redraw time is rather lengthy, turn off the DRGs for
quicker turnaround. This is also true for the sections, townships, or any
other large theme.
Continue with Tutorial
Previous item in Tutorial
Return to ArcView Tutorial 2: List of Topics
Return to Main Menu